

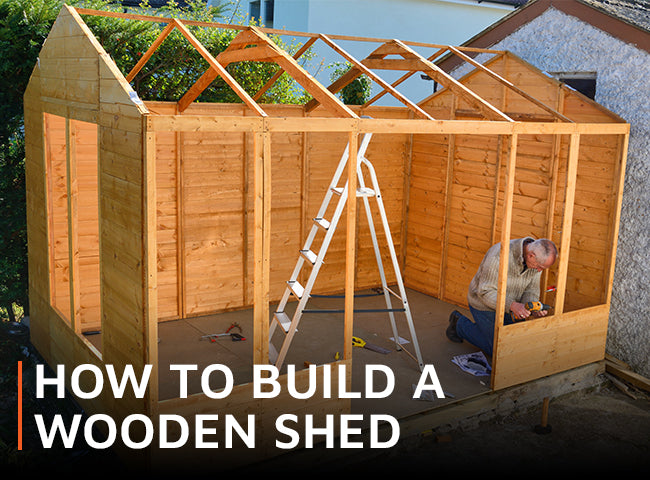
Before you install your wooden shed, take a look at our step-by-step instructions to building this 8ft x 6ft double-door model. Our helpful video tutorial demonstrates how it’s done. While sheds come in many shapes and sizes, the same process can be followed for any Waltons shed.
If you haven’t already laid the foundations, get some tips by reading our shed base guide. Then, with a friend, you can begin. Start with the floor and work your way up.
At a glance:
- Prepare your area and base
- Build the shed body
- Construct the roof
- Cover roof with felt
- Add the corner trims
- Attach the fascia boards and finials
- Install windows
- Add door fixings
You will need:
- Screwdriver
- Drill
- Hammer
- Tape measure
- Ladder
- Utility knife
1. Prepare your area and base
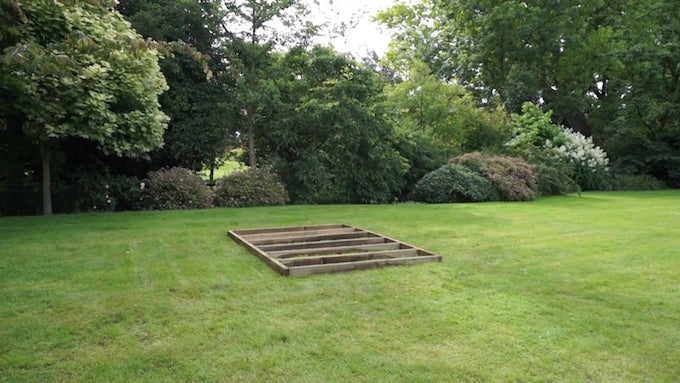
Image: Waltons
Clear the area around your shed base of anything that might get in the way – including overhanging branches.
Make sure your base is level and secure. For larger sheds, consider a concrete base (always the best option). A wooden base is fine for smaller sheds. Be sure that you have enough space to be able to get all the way round your shed when it’s built.
Remove transportation blocks from the panels with a hammer.
2. Build the shed body

Image: Waltons
Fit the doors first. Lay the front gable end flat on the ground and position the doors into place before securing the hinges. Drill pilot holes before screwing the hinges into position.
Place the floor panel down on your base, and make sure the bearers are flush with the base edge.
Start constructing the building with the rear gable and one side of the shed - hold them upright so that they form an L shape.
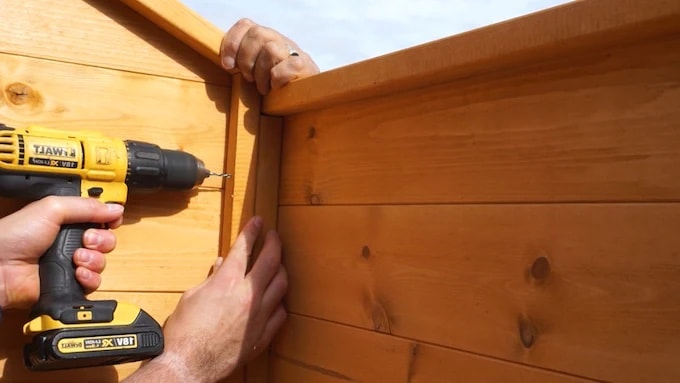
Image: Waltons
Align the panels so that the framing pieces are firmly against each other, and flat on the floor. Pre-drill screw holes, and screw the panels together at the top, middle and bottom.
Add the second side panel to the rear gable and secure in the same way.
Secure the front gable (with the door installed) with screws at the top, middle and bottom.
3. Construct the roof
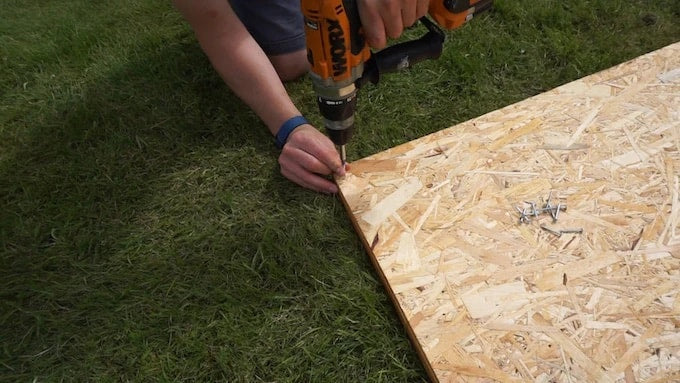
Image: Waltons
Secure an L bracket to each end of the roof's ridge bar. Align this to the top of the shed's apex, and screw into position at each end.
Lay the roof panels on the ground, and slide an eaves frame underneath, making sure it's flush at the side and ends.
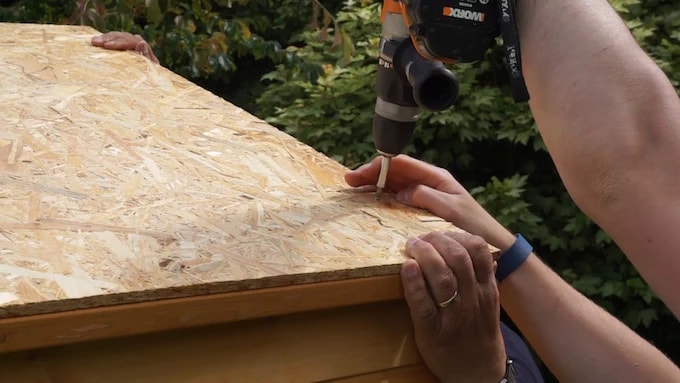
Image: Waltons
Secure the roof panel to the eaves frame with screws. Remember to pre-drill all your screw holes.
Slide the roof panel up on the gables, and secure into place by screwing the board into the frame below, along each edge. Repeat for the other side.
Now that your roof’s on, you can secure the shed frame to the floor to prevent any movement. Pre-drill and screw the frame into the board and frame below.
4. Cover roof with felt
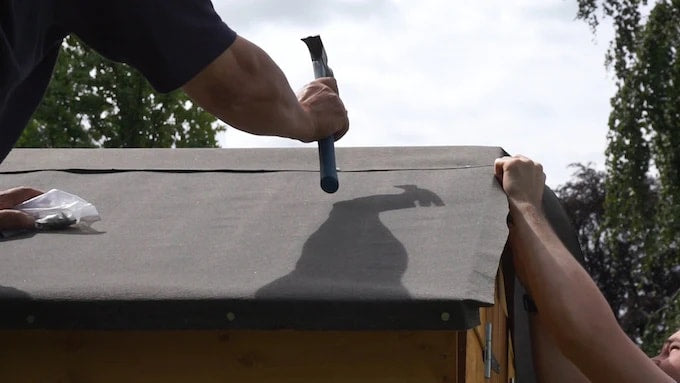
Image: Waltons
Measure and cut the roof felt to size, remembering to leave a two inch overhang on all sides.
Roll the felt out onto the roof, tack at the top two corners, then secure along the bottom edge. Pull the felt out firmly to prevent wrinkles. Add more felt if the roof board isn't covered.
Repeat for the other side, and then roll out the last piece over the apex of the roof. This should overlap the felt on each side, and be secured along the length on both sides. There's a handy guide dedicated to fitting a felt roof here. You could also consider adding shingles, or fitting an EPDM roof.
5. Add the corner trims
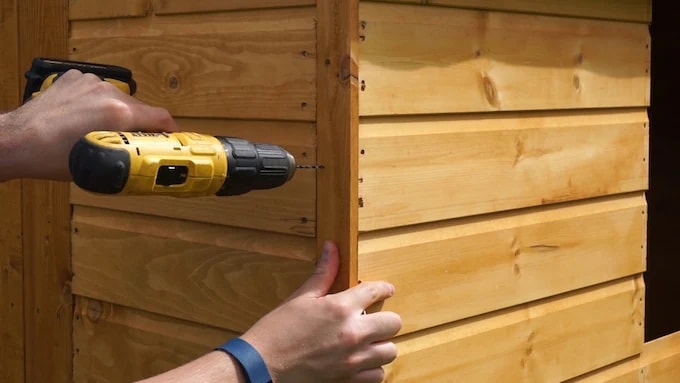
Image: Waltons
Align the wooden corner trims over the side panel framing, and secure at the top, middle and bottom with screws. Repeat this for all four corners.
6. Attach the fascia boards and finials
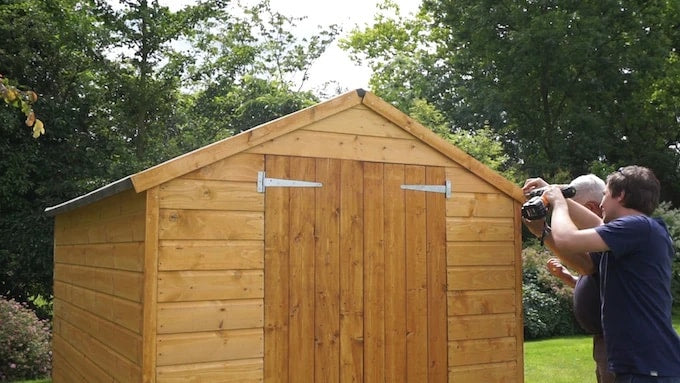
Image: Waltons
Fold down the roof felt overhangs, and affix the fascia boards to the ends of the roof. Secure at each end, and the middle.
Pre-drill screw holes into the finials, and affix to the apex at each end to neaten the appearance. Trim any excess roof felt with a knife.
7. Install windows

Image: Waltons
Working outside the shed, insert a plastic glazing strip onto the window lip.
Put a pane of styrene in the frame, and cover one edge with a framing piece. Repeat for the second pane before adding the centre frame piece.
Score around the edge of the panes both inside and out, and peel off the protective plastic.
8. Add the door fixings
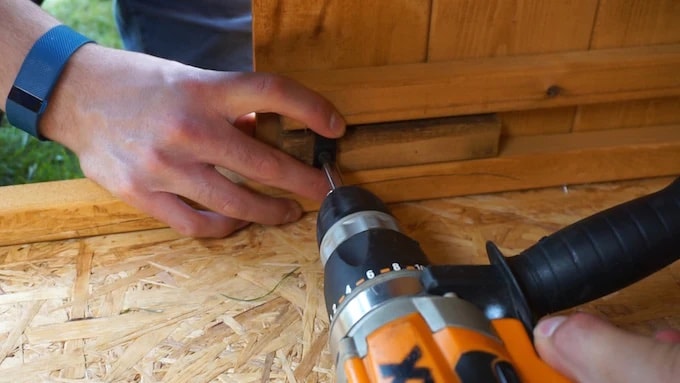
Image: Waltons
Fix door blocks on the top, middle and bottom of one door with screws. This door becomes the 'slave' door.
Attach a turn button onto the top and bottom blocks inside the slave door to prevent the door from opening.
Screw door strips to the 'master' door, across the door gap, and secure at the top and bottom.
Add another turn button to the outside of the slave door to prevent the master door from swinging open.
You’re all done!
Treat your shed when it’s built, and annually thereafter, with a good quality timber preservative to keep it protected from weather damage.
Watch our step-by-step video to see the process in more detail:
Lead image: Waltons 8 x 6 Overlap Double Door Apex Wooden Shed
